
請看Adobe的說明

The new Dehaze control in Lightroom CC and Adobe Camera Raw 9.1 can help you to dramatically improve an image by removing haze. The Dehaze technology is based on a physical model of how light is transmitted, and it tries to estimate light that is lost due to absorption and scattering through the atmosphere. For the best results, you’ll want to set the white balance for the image before using Dehaze. Then, in the Effects panel, move the slider to the right – to easily remove the haze from the original scene. Move the slider to the left to add a creative haze effect.You can choose to make very subtle to very significant adjustments – if you’re pushing the slider to the extreme, you might want to refine the image using the Basic panel (increasing the shadow detail or refining the Vibrance slider) in order to achieve the exact look that you’re after.
然後來看看實際的效果
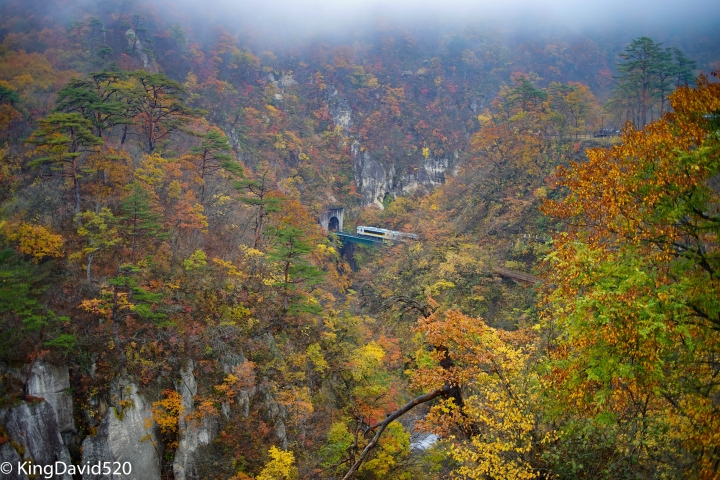
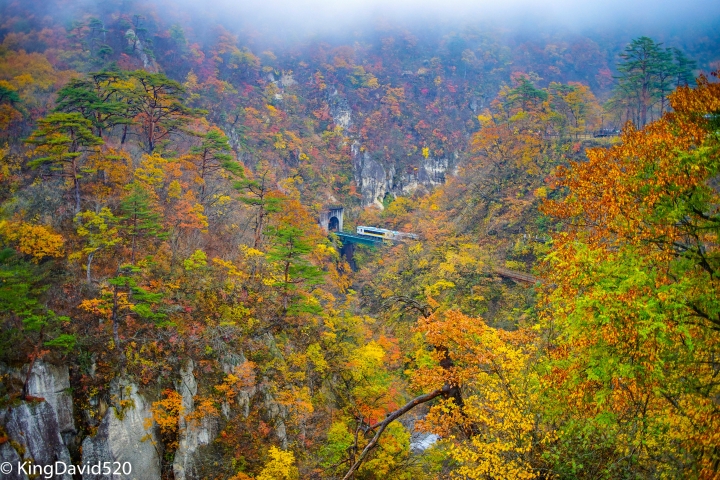
一、原圖: 鐵橋以上有層由淡至濃的霧

二、去朦朧+60: 只剩最上方的濃霧了

三、去朦朧+60、曝光度+0.33、陰影+70、清晰度+30、鮮豔度+30、飽和度+30
曝光度+0.33: 讓原圖不要那麼黯淡, 所以+0.33調亮一些,
陰影+70: 去朦朧+60和清晰度+30都會讓暗部陰影更暗, 所以+70恢復暗部,
清晰度+30、鮮豔度+30: 這是我的習慣了,
飽和度+30: 風景可以+30, 但主題式照片會影響細節, 通常就+10或不加
去年鳴子峽賞楓, 不巧遇上大霧

本來規劃這二年要再去一次,
Lr的Dehaze幫我省下一筆旅費


